This comprehensive beginner’s guide will teach you how to sew your first quilt. Sandra Lee Design offers simple quilting techniques and Nashville workshop opportunities.
One of those ageless crafts that combines memory, art, and utility into one fabric piece is quilting. Quilts that tell stories, preserve heritage, and provide warmth to loved ones have been made for generations by piecing together leftover clothing, linens, and hand-me-down fabrics.
However, if you’re new to quilting, you may be thinking, “I love quilts, but I don’t know where to start.”
This post is meant to help you with that. It only takes a little patience, a few basic supplies, and the desire to make something new out of fabric to sew your first quilt. No fancy tools or years of sewing experience are needed.
I’ll take you step-by-step through the process of sewing your first quilt in this tutorial. I’ll offer advice I’ve gained from teaching quilting for more than thirty years along the way.
Supplies You’ll Need
You don’t need to start with complicated tools.
Actually, a lot of quilters start with items they already own. For novices, I suggest the following:
• Fabric: Cotton is a good starting material because it’s easy to work with. Use recycled bed linens, old shirts, or repurposed denim if you want something eco-friendly.
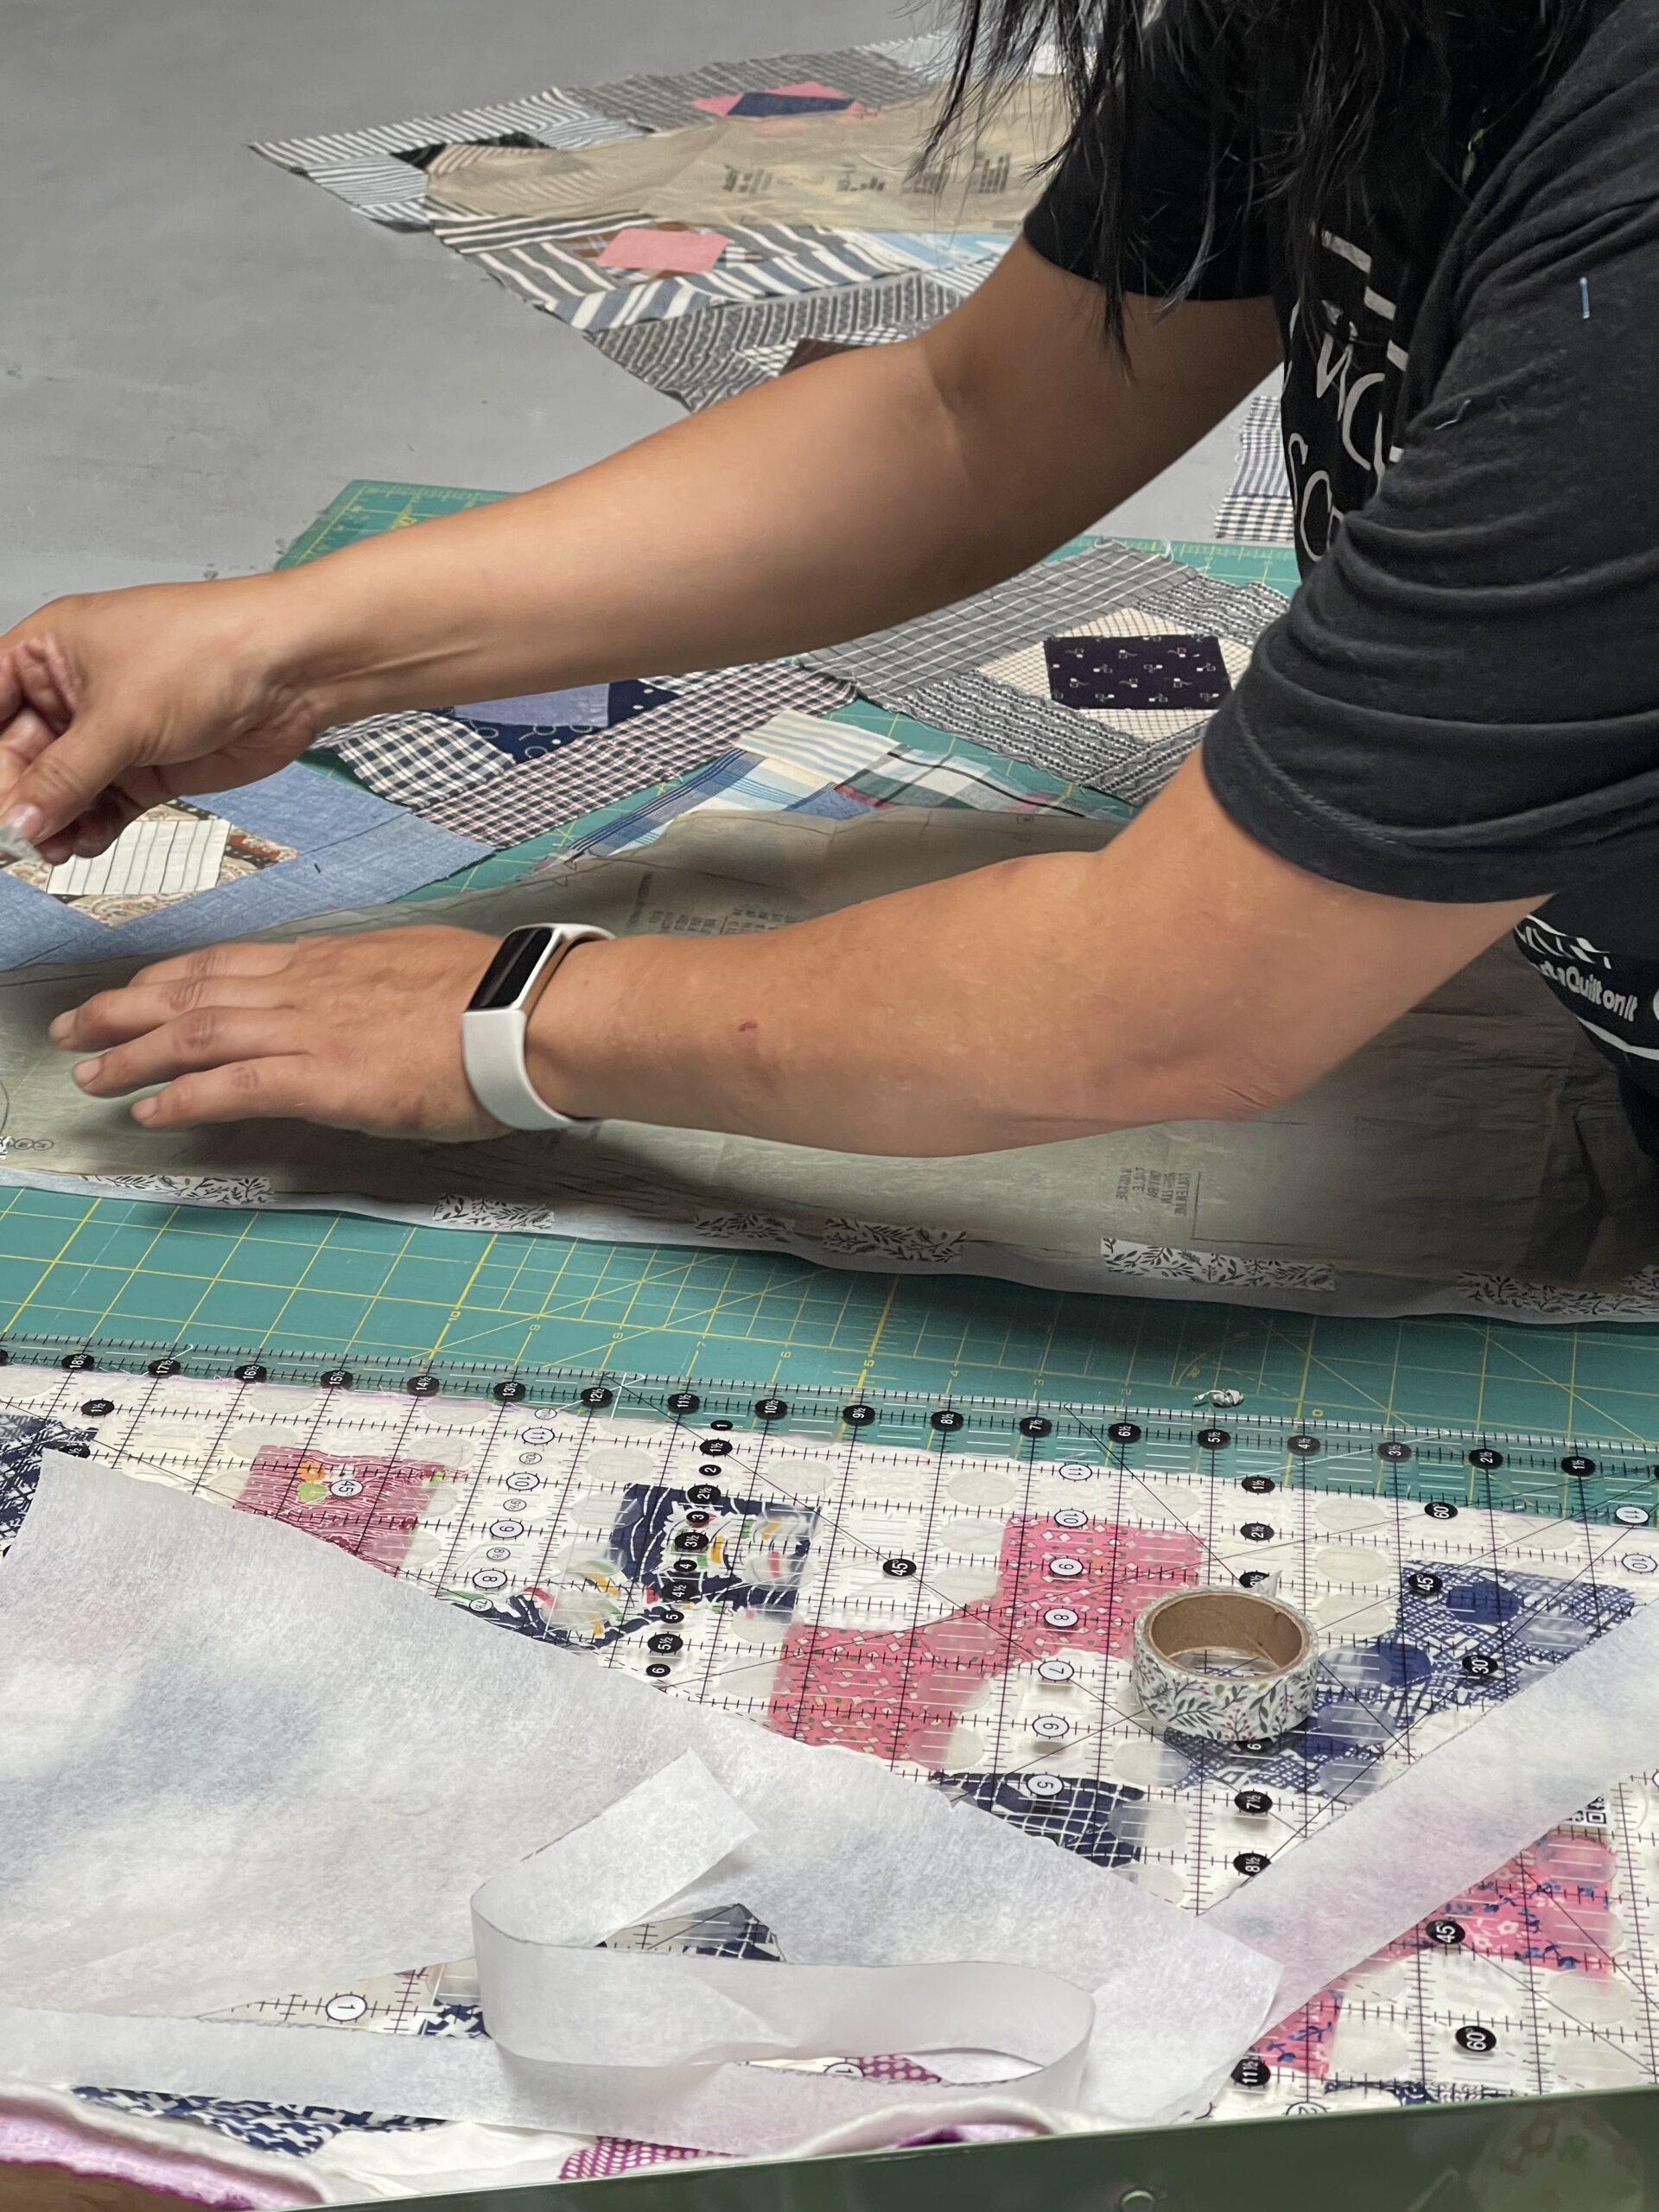
You can cut neat, straight fabric squares with the aid of a rotating cutter and cutting mat.
• A quilting ruler helps you make accurate cuts.
• Thread and needles: Although hand stitching is an option, a sewing machine will expedite the process.
• Iron and pressing board: Used to press seams while working.
• Batting: The warm, fluffy layer in the center of your quilt.
• Backing fabric: One sizable piece used for the quilt’s back.
👉 Expert advice: Don’t overthink your fabric. Go for your favorite hues or designs. Quilts are tolerant, and each decision enhances the piece’s individuality.
Step 1: Select Your Fabric
Your canvas is your fabric. I advise beginning with two or three complementary colors for beginners. Busy patterns are more difficult to work with than solid colors or straightforward prints.
Look through your closet for worn-out dresses, button-down shirts, or jeans if sustainability is your thing. Upcycling adds personality to your quilt, and each item has a backstory. Imagine repurposing your old denim into something entirely different or making a quilt out of your child’s outgrown clothing.
Cut and arrange your squares in step two.
Using squares is the easiest way to begin quilting. They should all be cut to the same size, ideally 6 by 6 or 8 by 8 inches. You’ll get clean edges and save a ton of time by using a rotary cutter and ruler.
Arrange your squares on a big table or the floor. Adjust the arrangement until the colors seem well-balanced. It’s part of the fun, so don’t be scared to rearrange things!
Step 2: Press and Sew
It’s time to sew once your layout seems correct. Sew your squares into rows to begin. Once each row is complete, use an iron to press the seams flat. Next, stitch the rows together.
Although pressing might seem like an extra step, I promise you that it has a significant impact on the final appearance of your quilt. Pressed seams lay flat and facilitate subsequent procedures.
At this point, your quilt top also starts to take shape. One of the most thrilling aspects of the process is watching your fabric grow into something larger.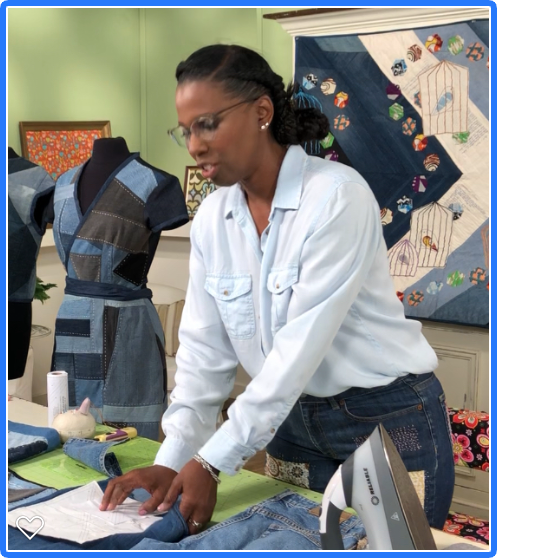
Step 3: Bind, Quilt, and Layer
Making your quilt top into a real quilt is where the magic happens.
1. First, lay the backing fabric out with the wrong side facing up.
2. Put your bat on top.
3. Place your quilt top on top, right side up.
4. Pin the layers together and smooth out any wrinkles.
It’s time to quilt now. The simplest approach for novices is to “stitch in the ditch.” This entails stitching your quilt top’s seams in straight lines. It doesn’t need complex patterns to keep everything in place.
Lastly, use fabric strips to bind the edges. This makes your quilt appear tidy and completed.
Typical Errors Made by Novices (and How to Correct Them)
Even quilters with a lot of experience make mistakes. Here are some typical ones along with solutions:
• Are the seams wavy? Allow your machine to feed the fabric naturally rather than tugging it.
Squares that aren’t even? Return and use your ruler and rotary cutter to trim them.
• Is there fabric bunching? When layering your quilt sandwich, pin more frequently.
Keep in mind that quilting isn’t about being flawless. Making something significant is the goal.
The Significance of Quilting
Making your first quilt is an act of creativity and community, not just a craft project. Reusing materials, preserving history, and uniting people have all been accomplished through quilting. You’re continuing a generational and cultural tradition when you sit down to sew.
The quilt you create today might end up as a treasured gift, a family heirloom, or just the coziest blanket for your couch.
Are You All Set to Sew Your First Quilt with Me?
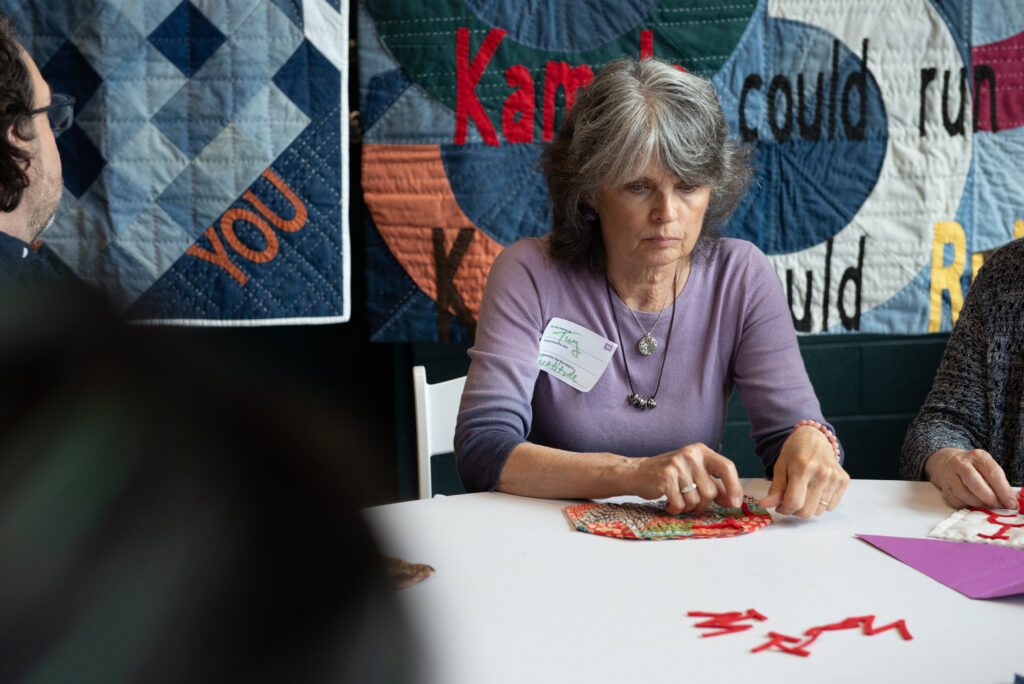
I’d love to invite you to one of my Beginner Quilt Workshops in Nashville if this guide has you excited but you’d like more direction and support.
With practical instruction, you will learn how to cut, piece, and stitch your first quilt in a matter of hours.
You will leave with a project you are proud of, and all materials are included.
👉 Sign up for Sandra Lee Design’s Beginner Quilt Workshop.